RV Lighting: Basic How-To with Links to Tools and Low-Profile Lighting

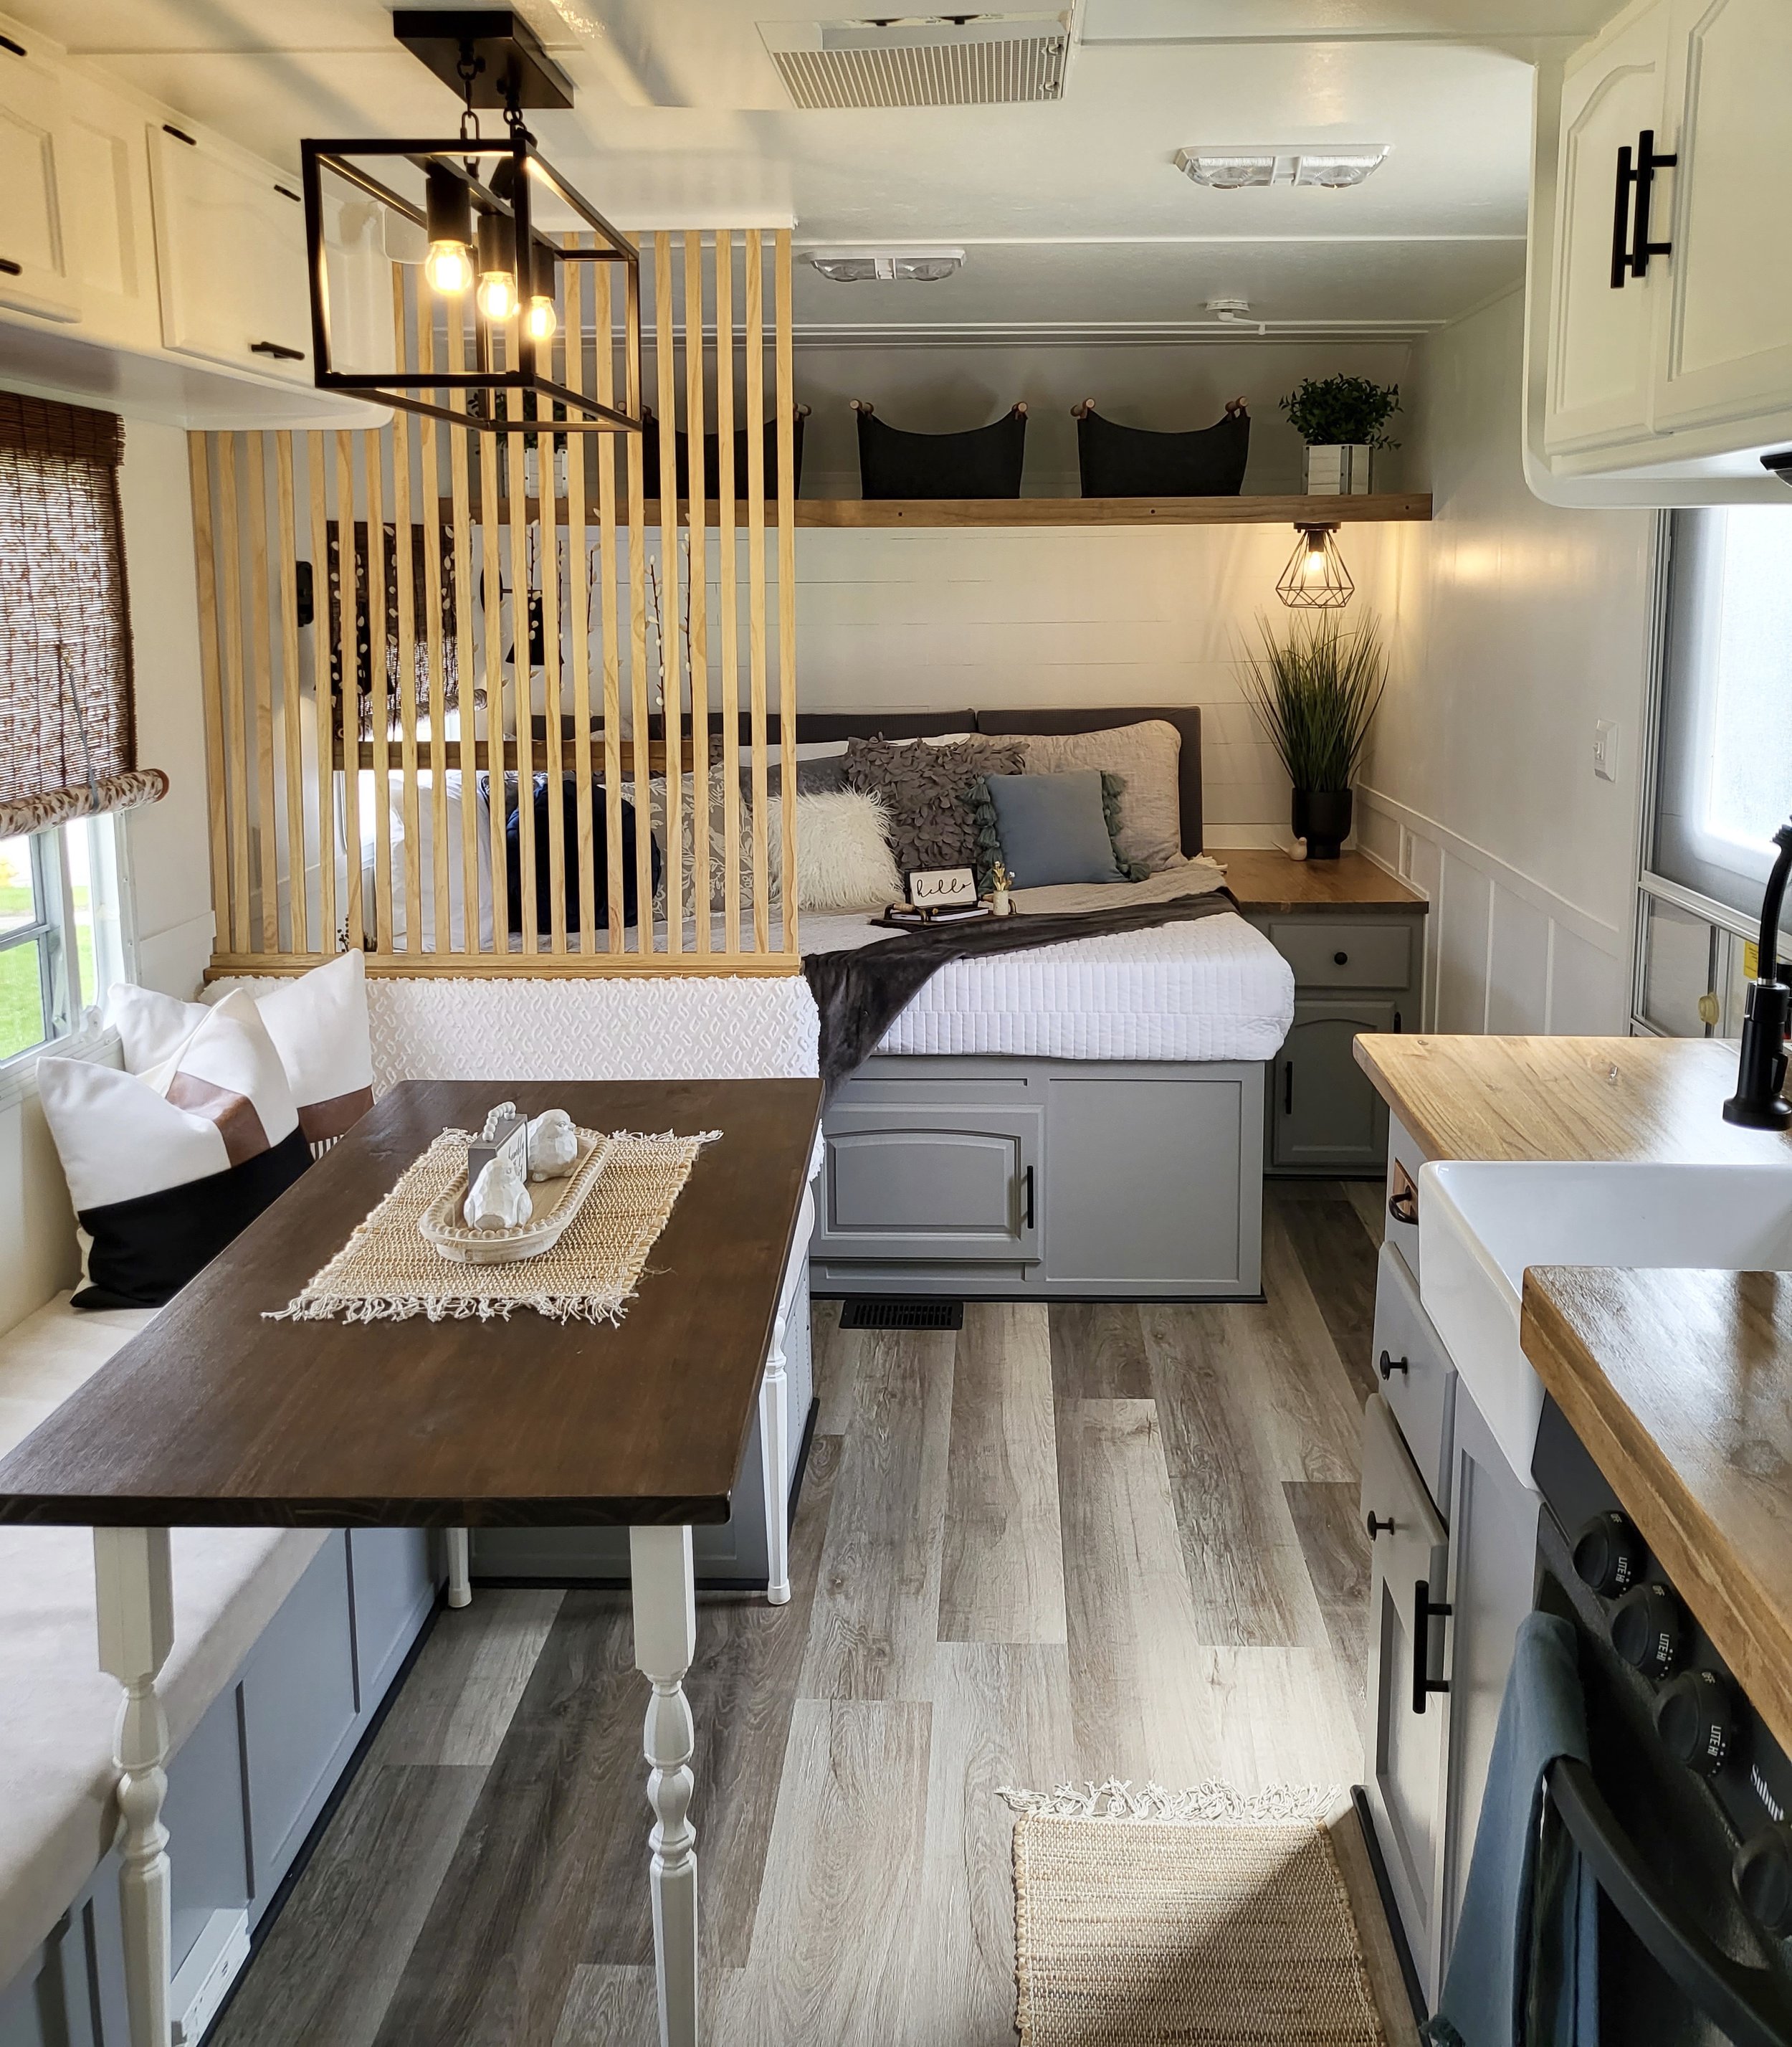
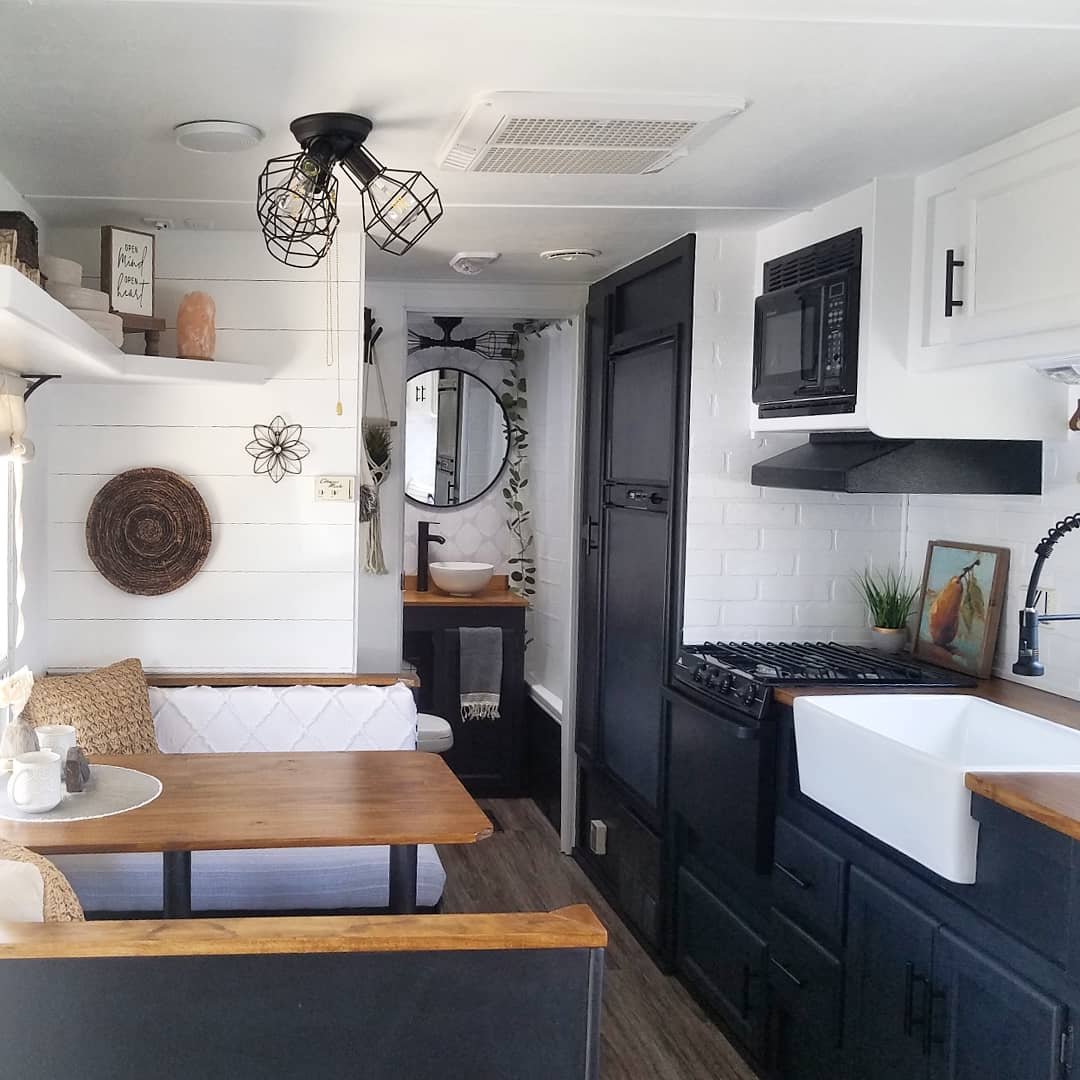
Changing up the lighting in your RV can make a HUGE difference in the look and feel of the space! It’s quick, easy and not nearly as messy as paint. If you’re looking to dip your toes into DIY RV renovation, updating your lighting is a great place to start!

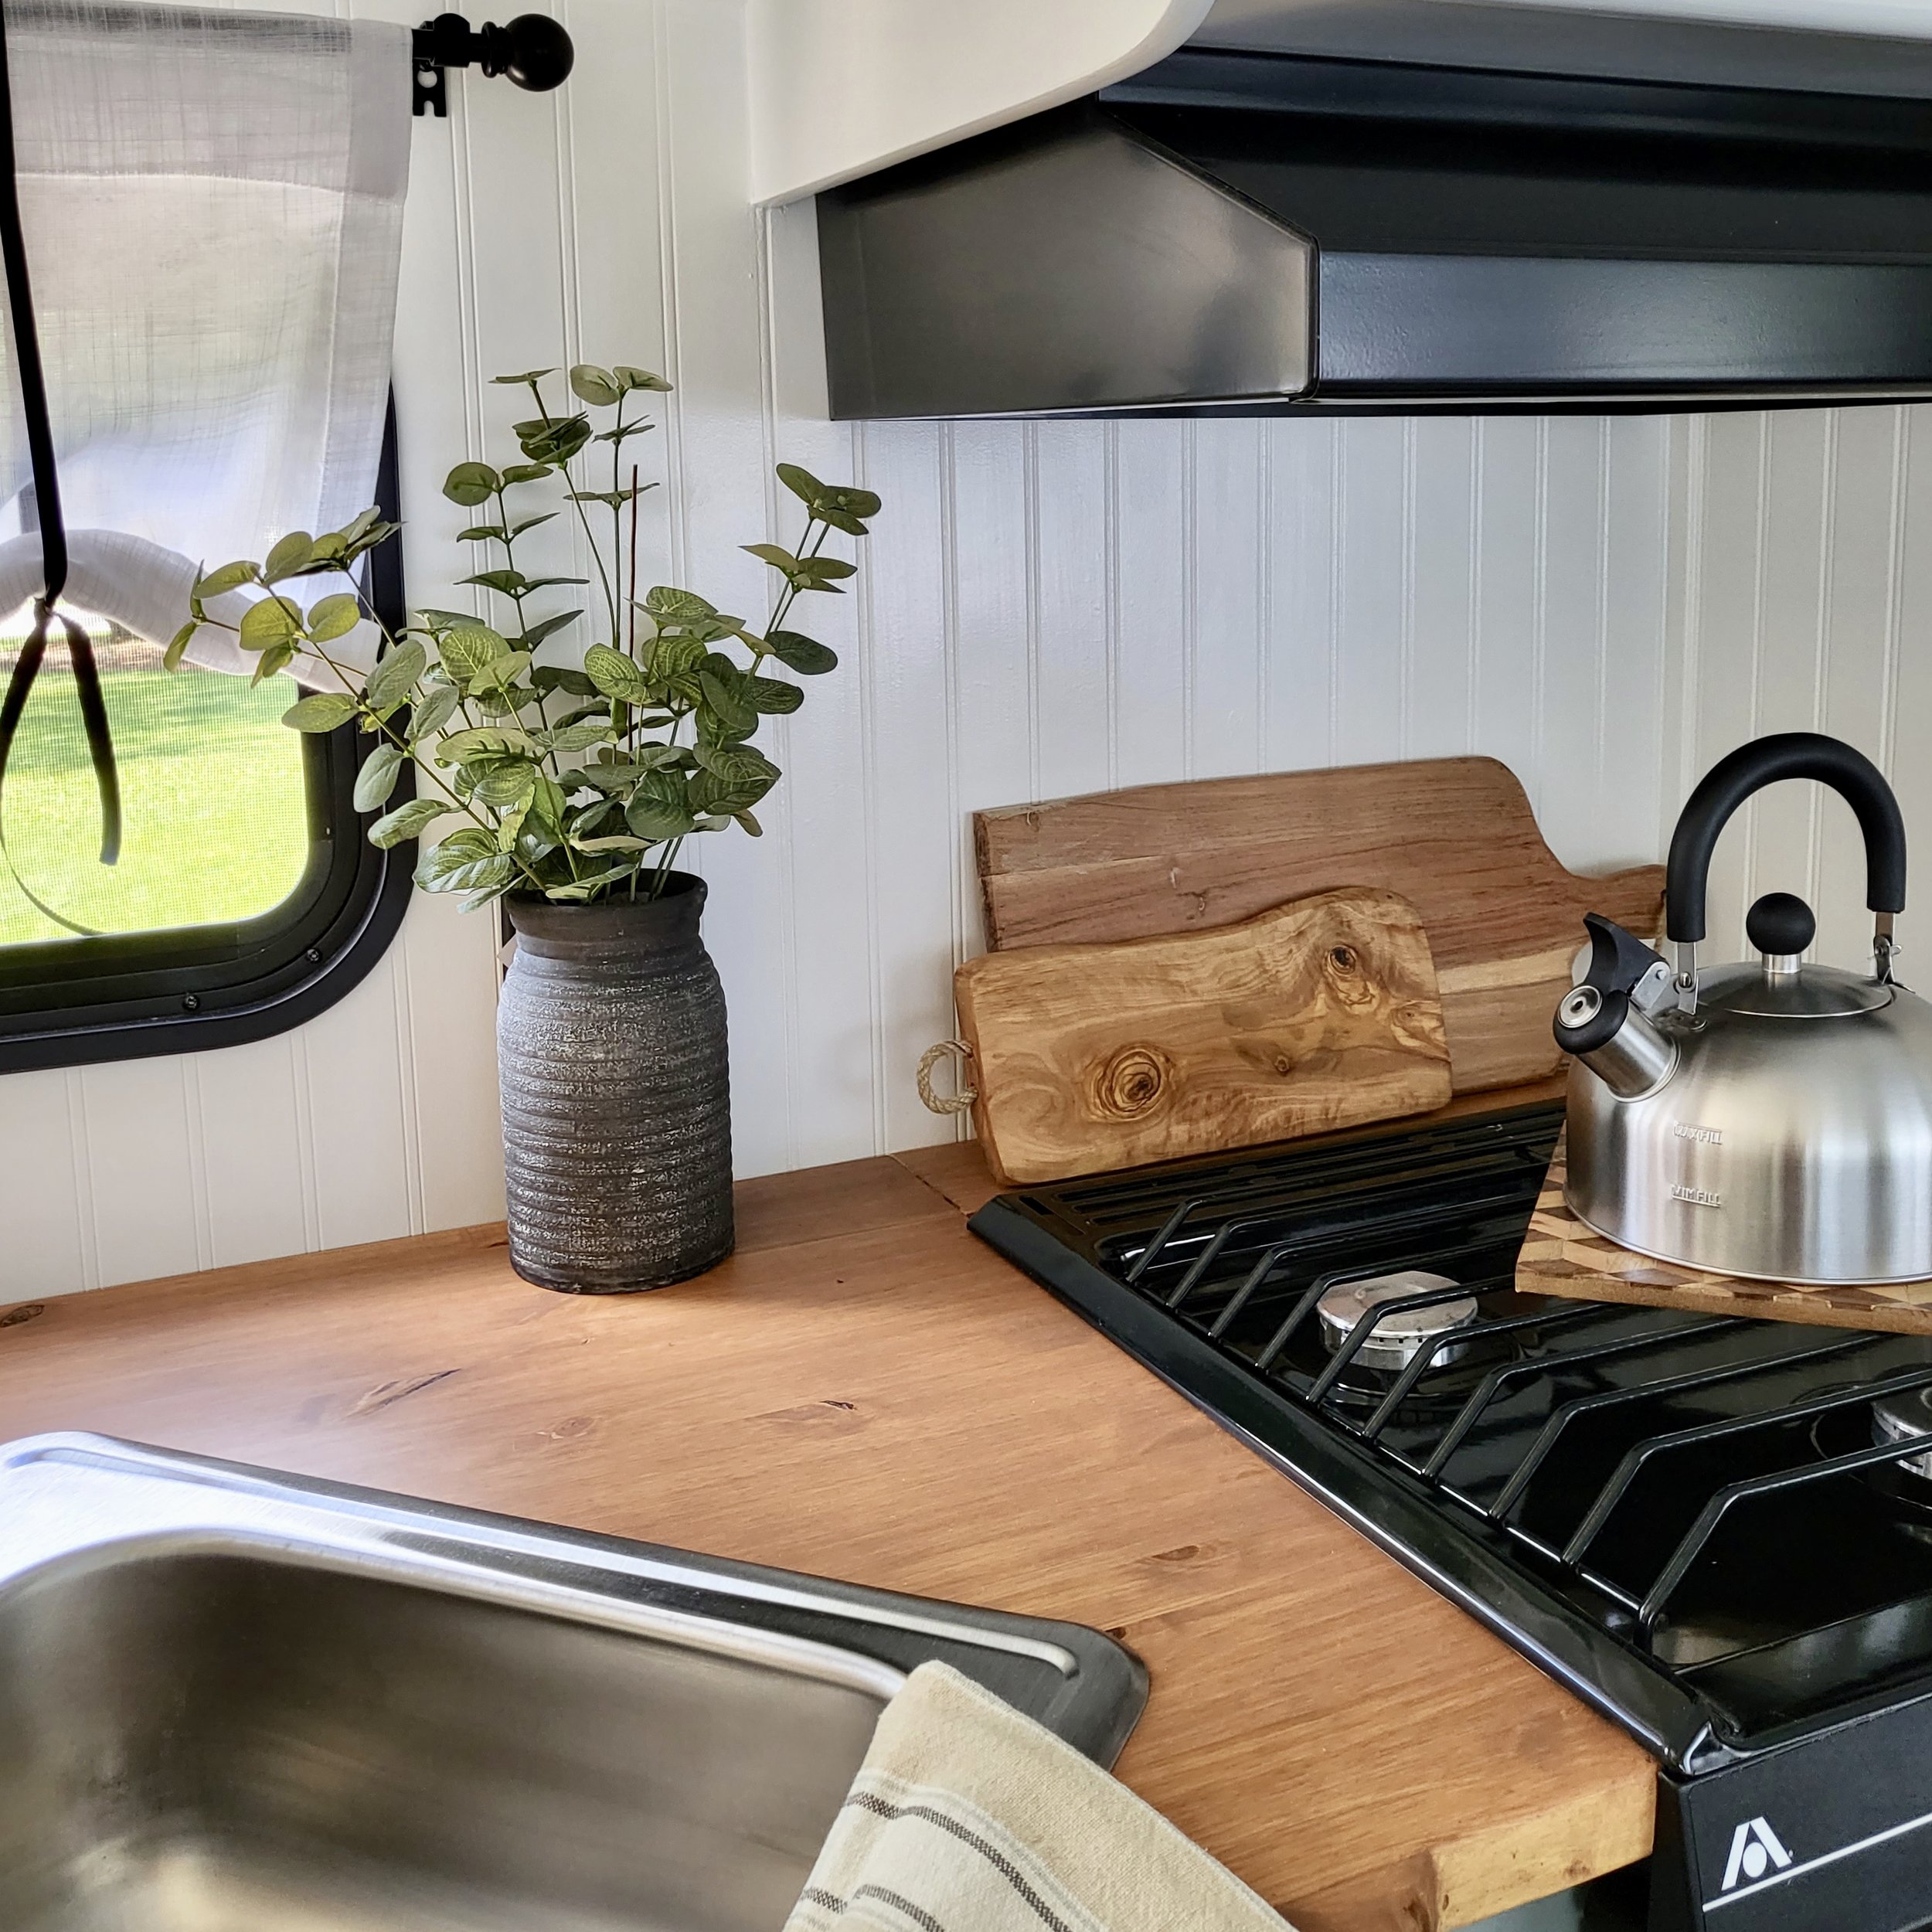
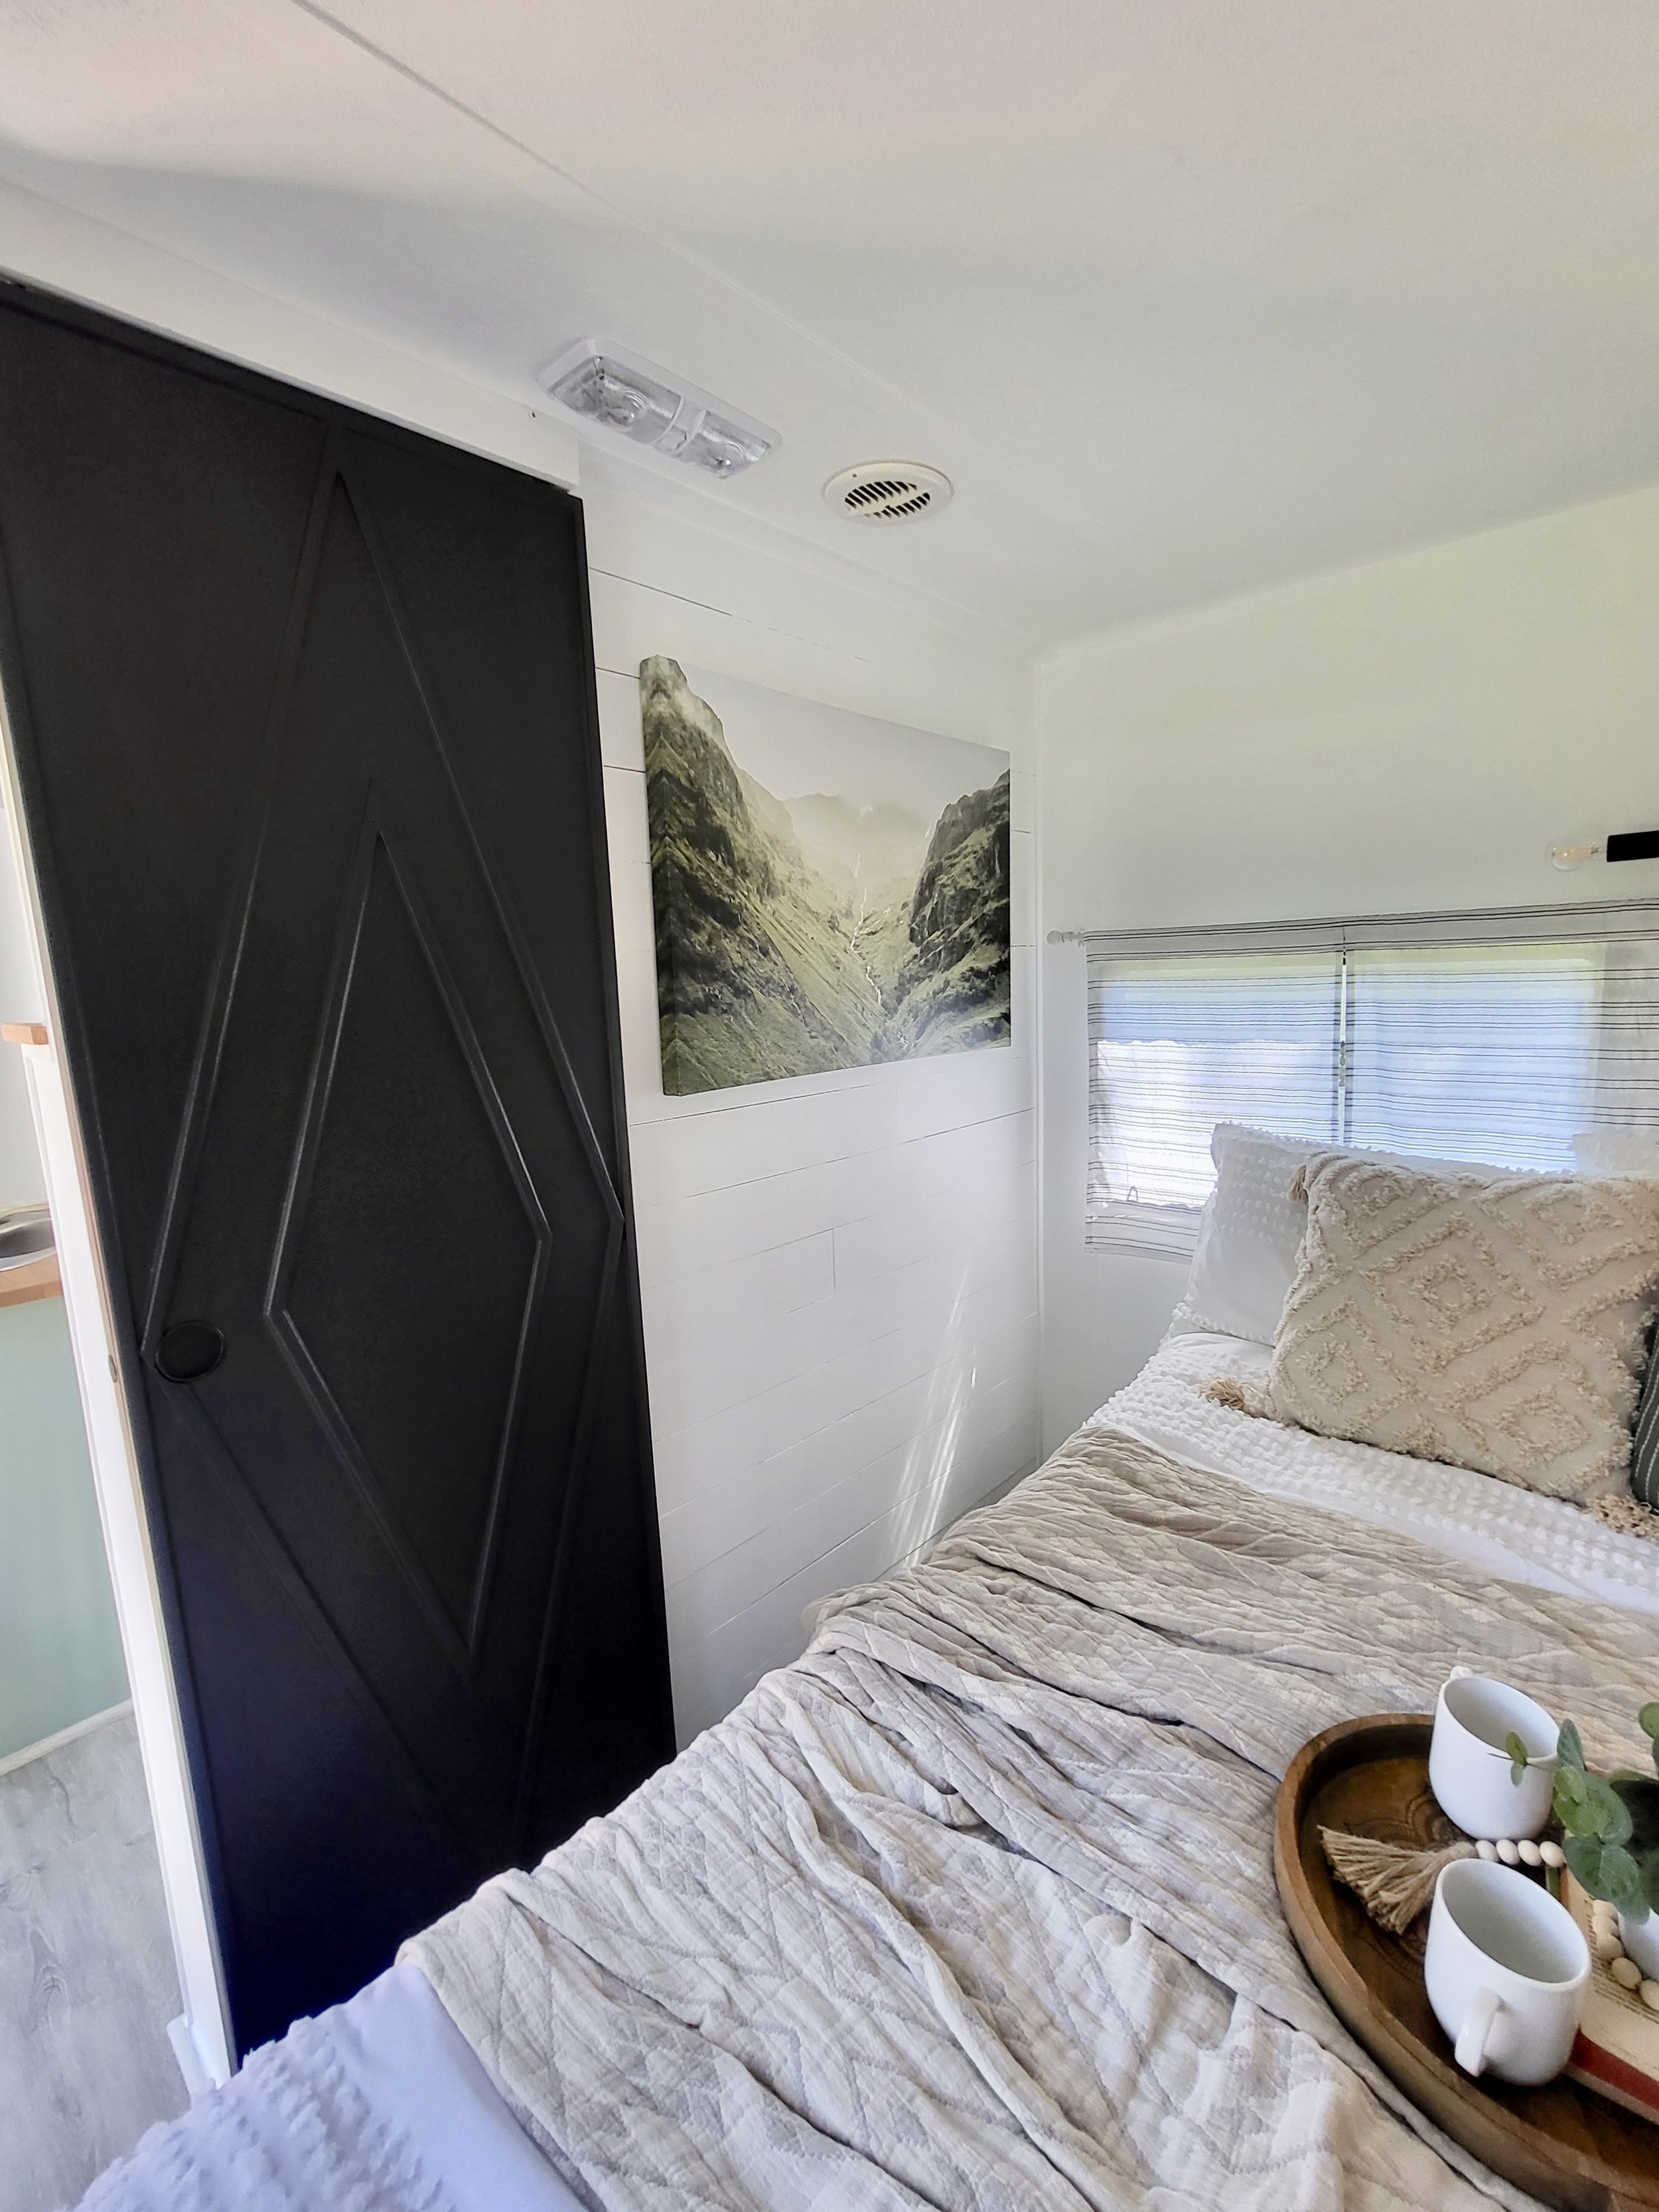
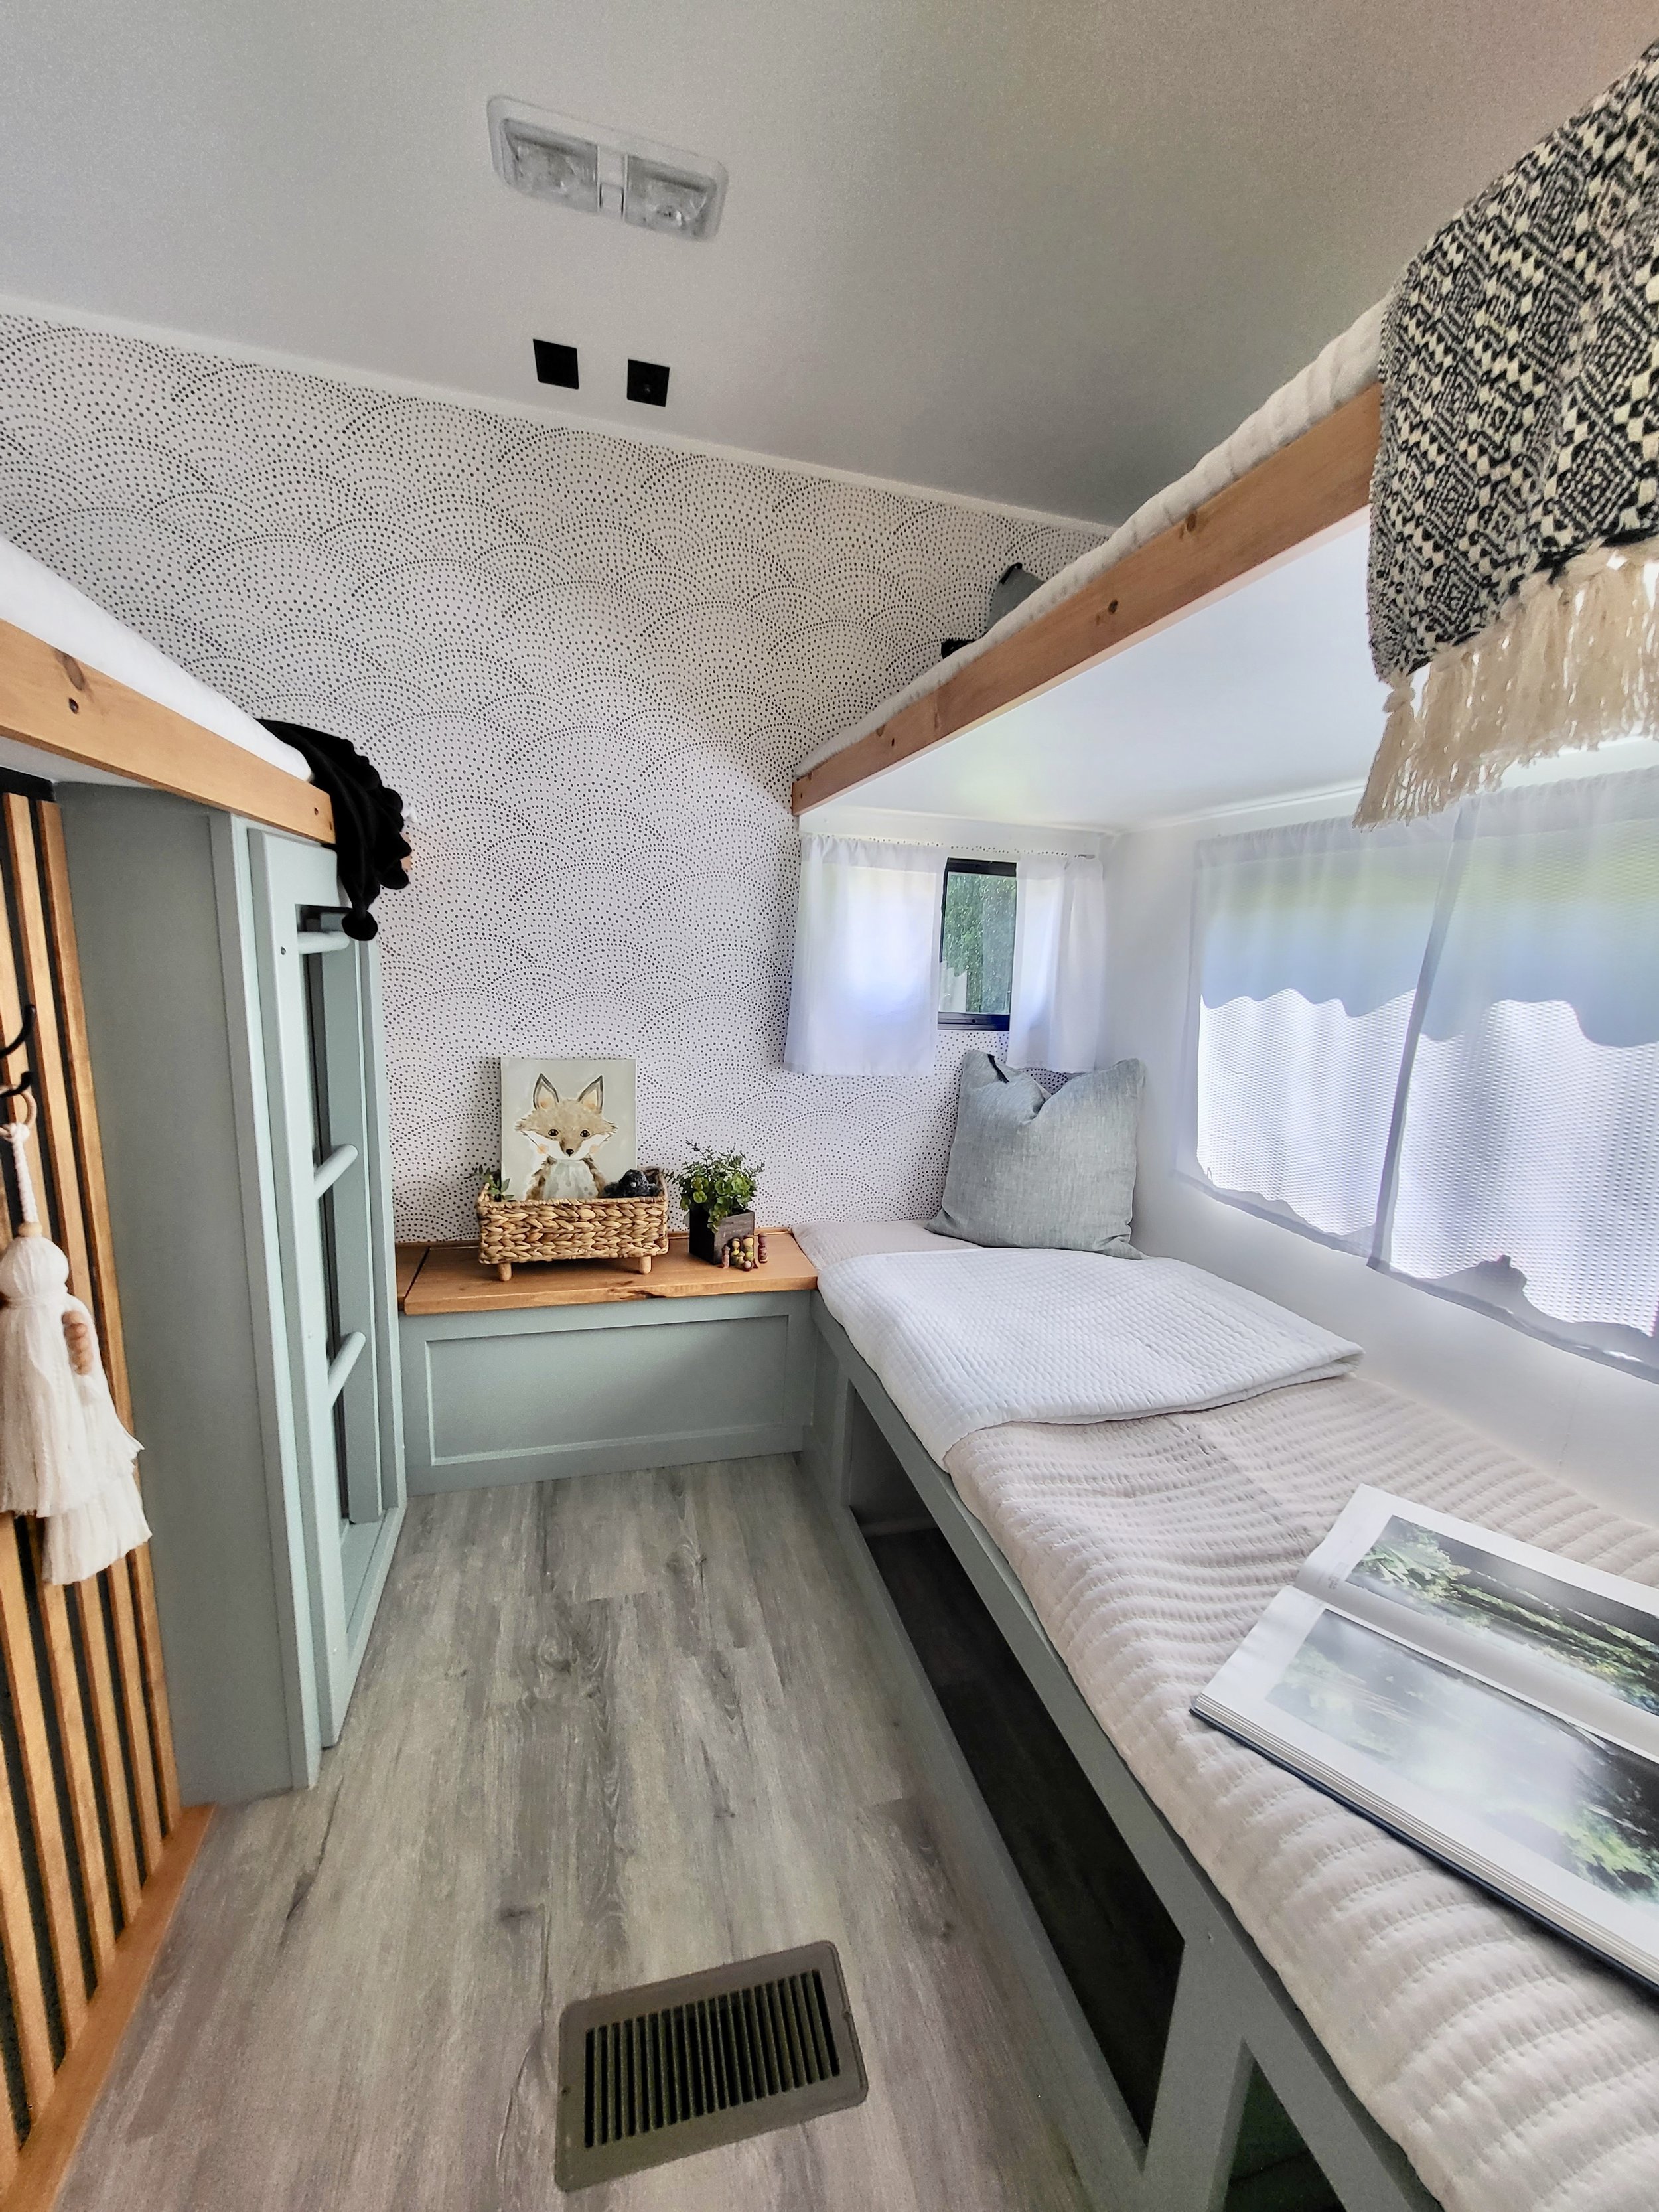
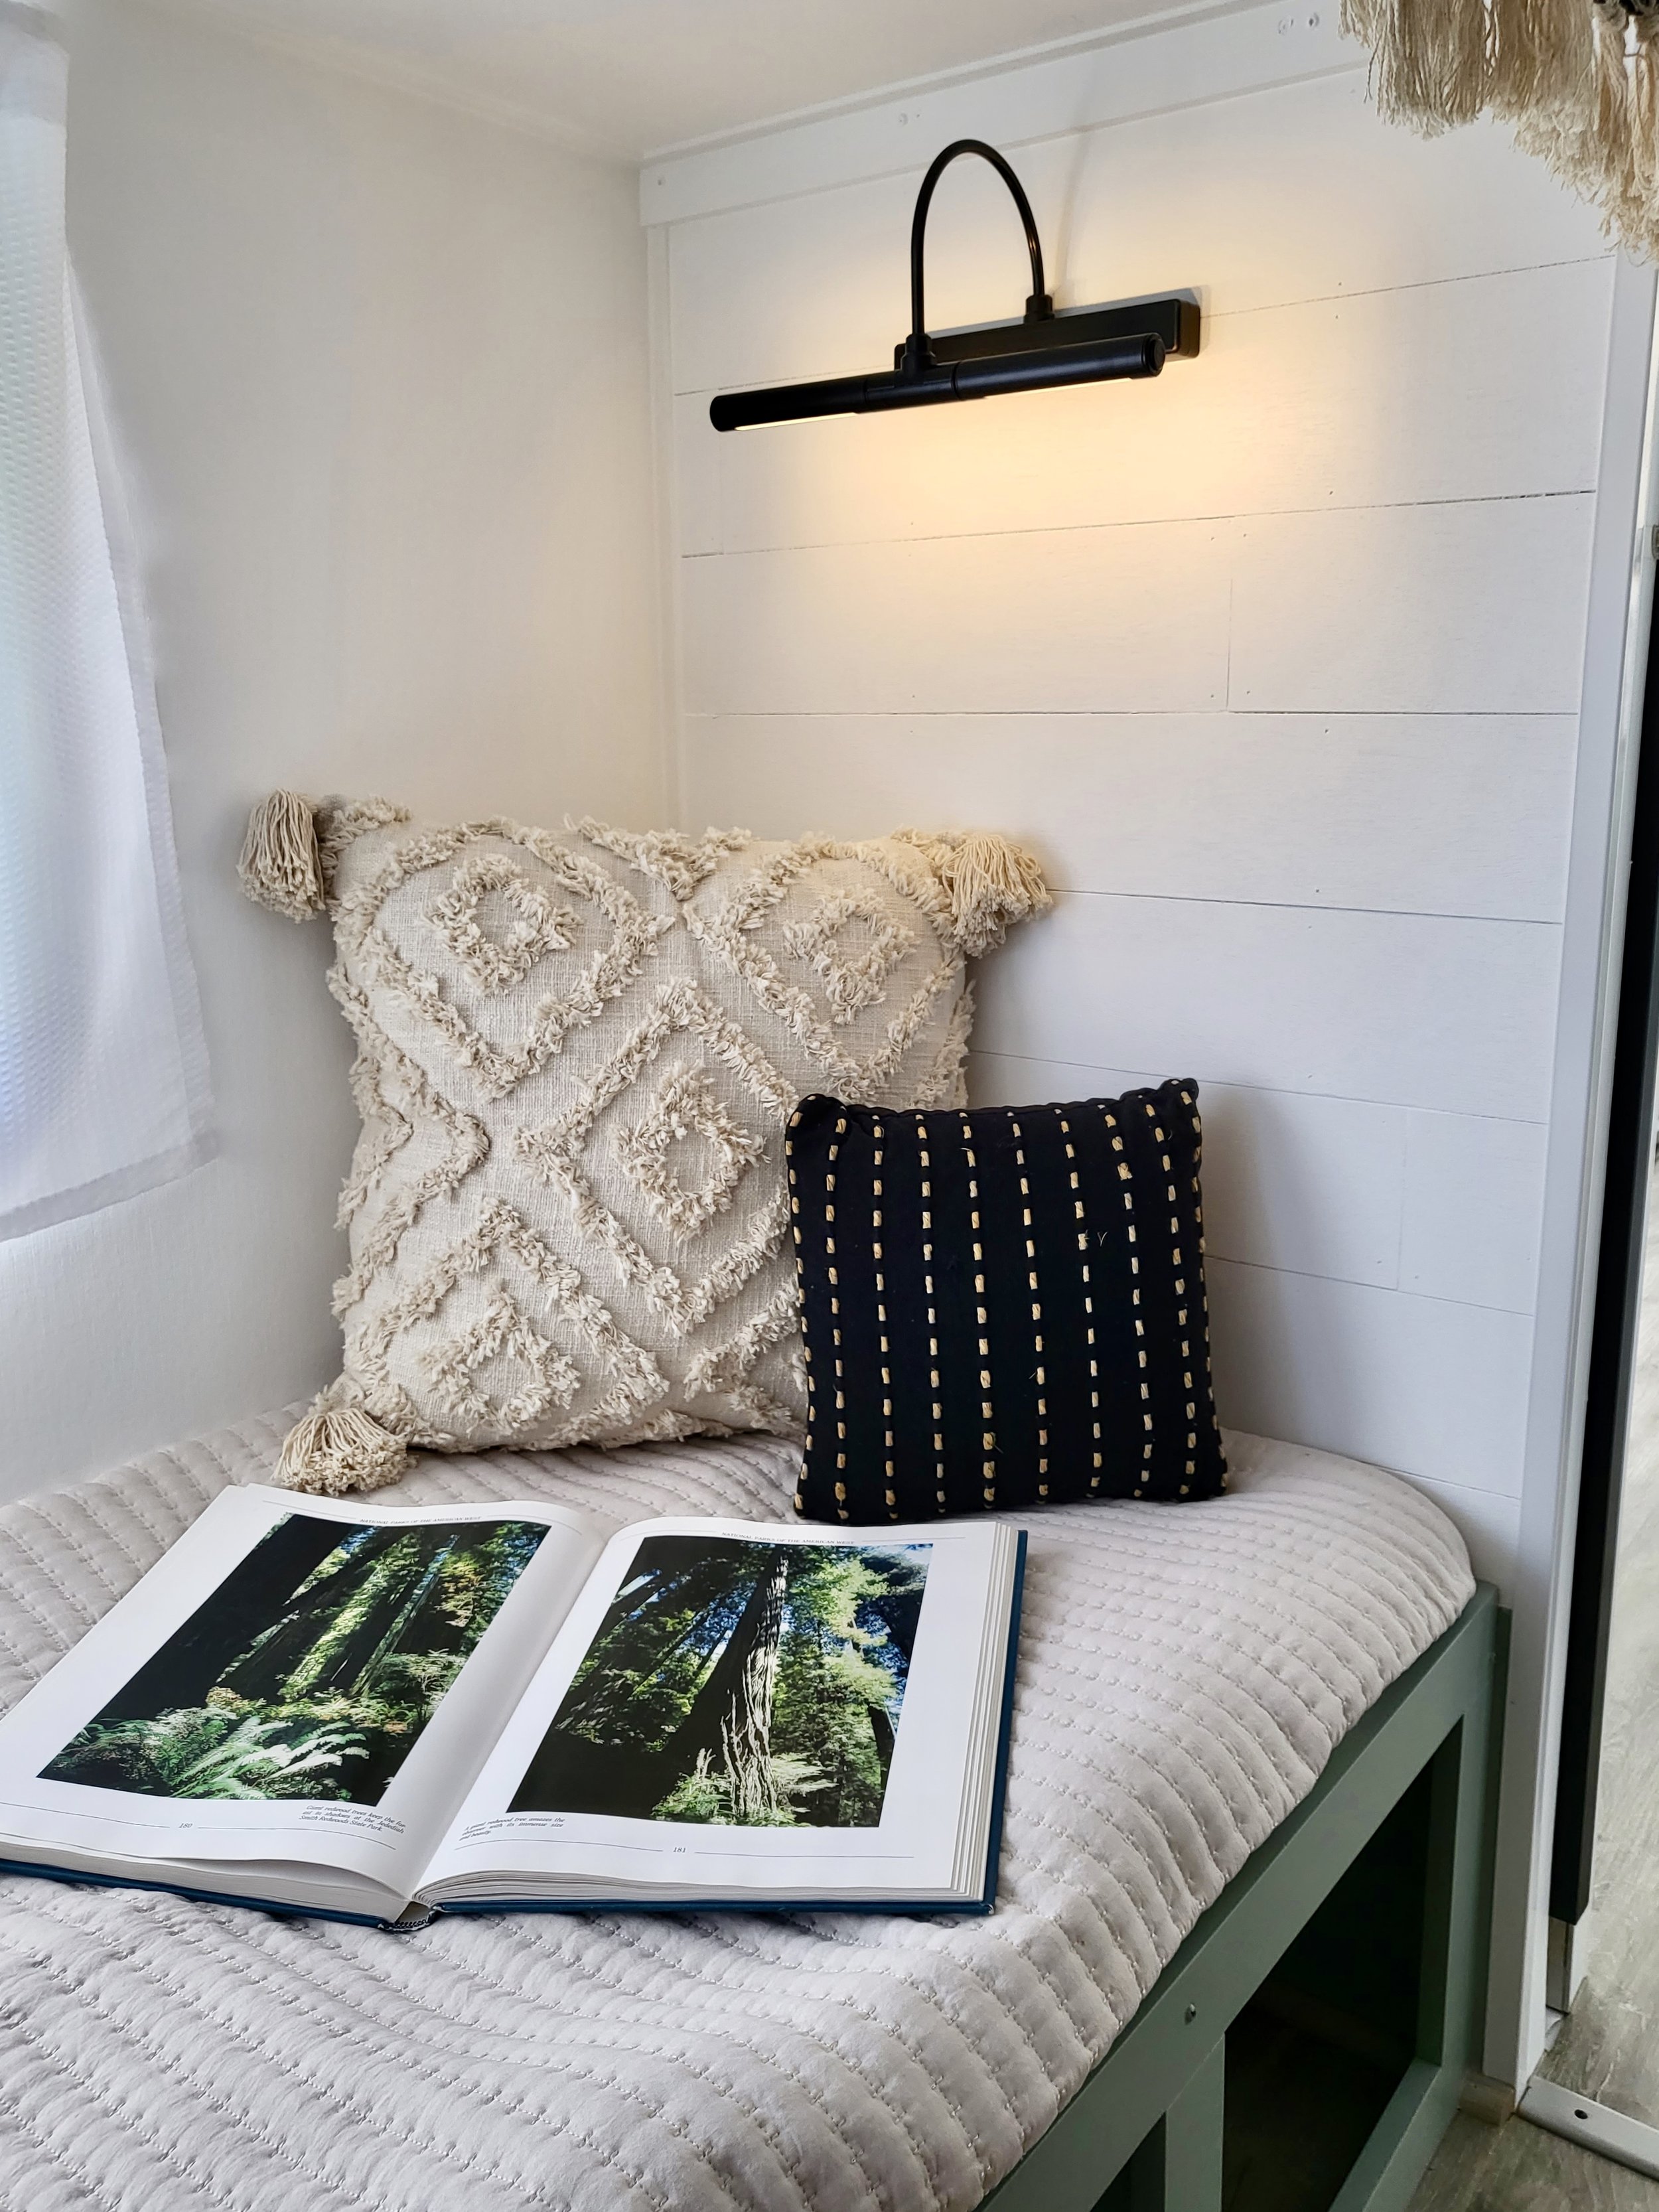
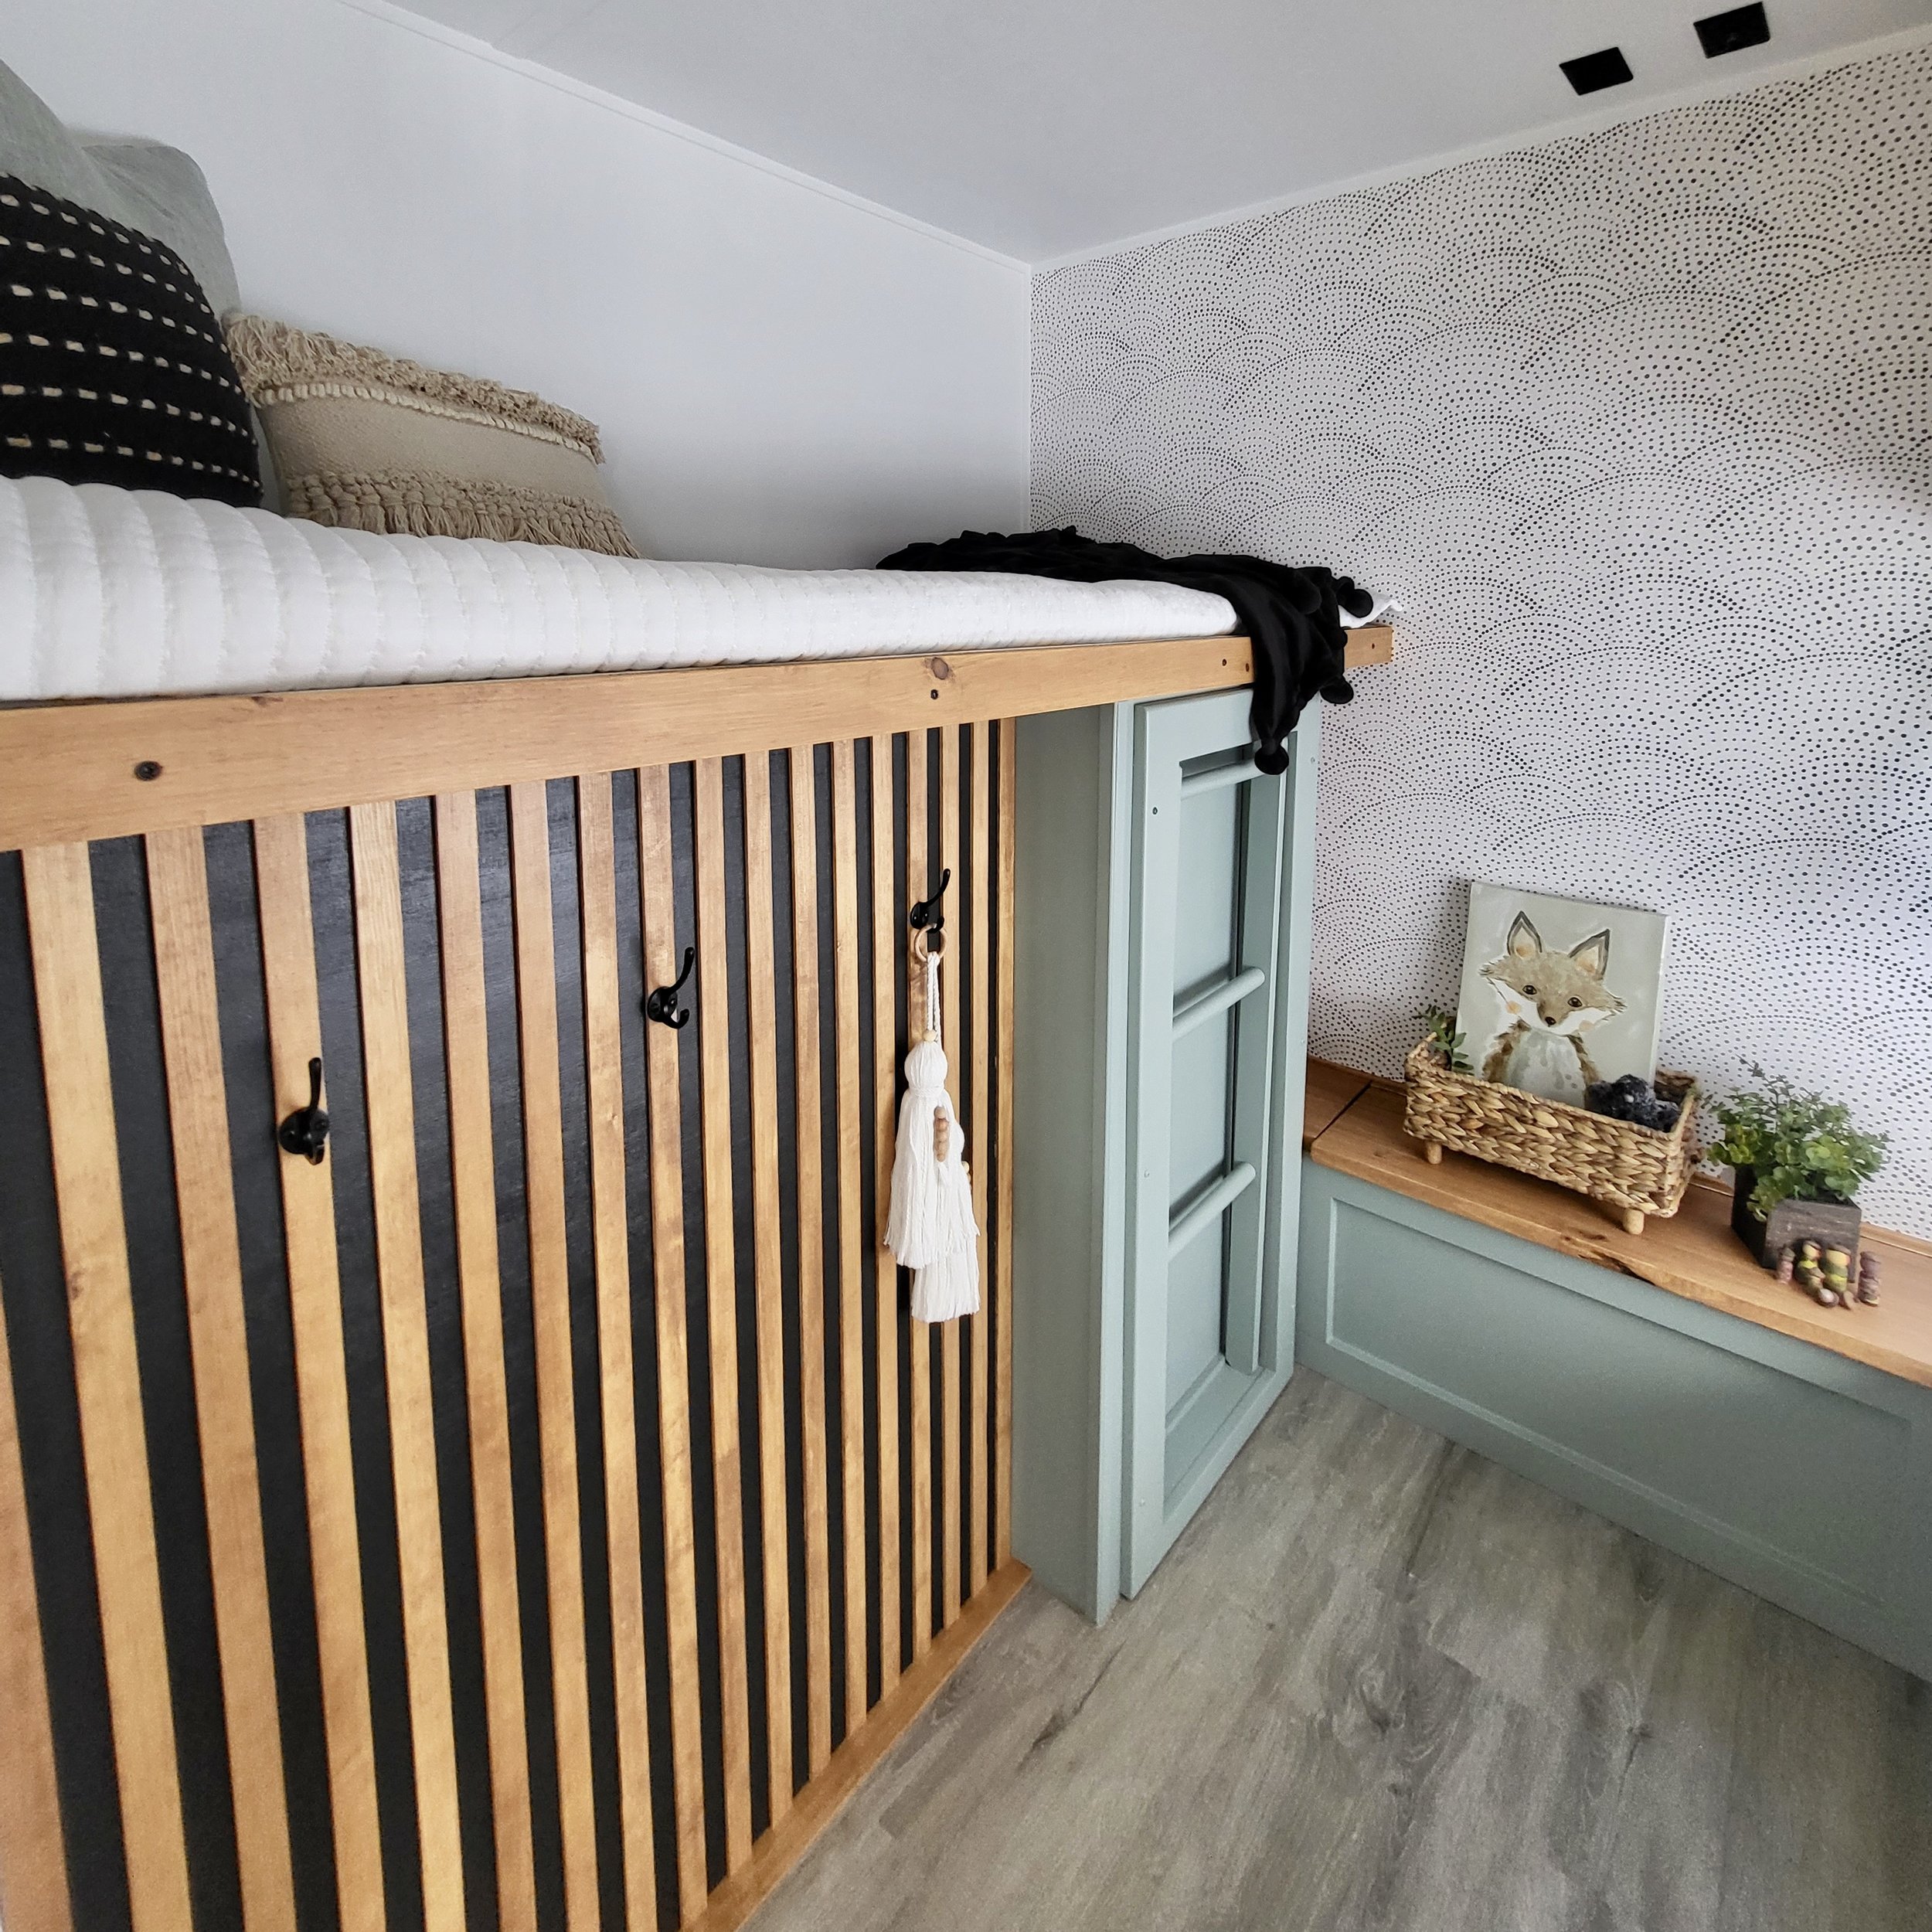
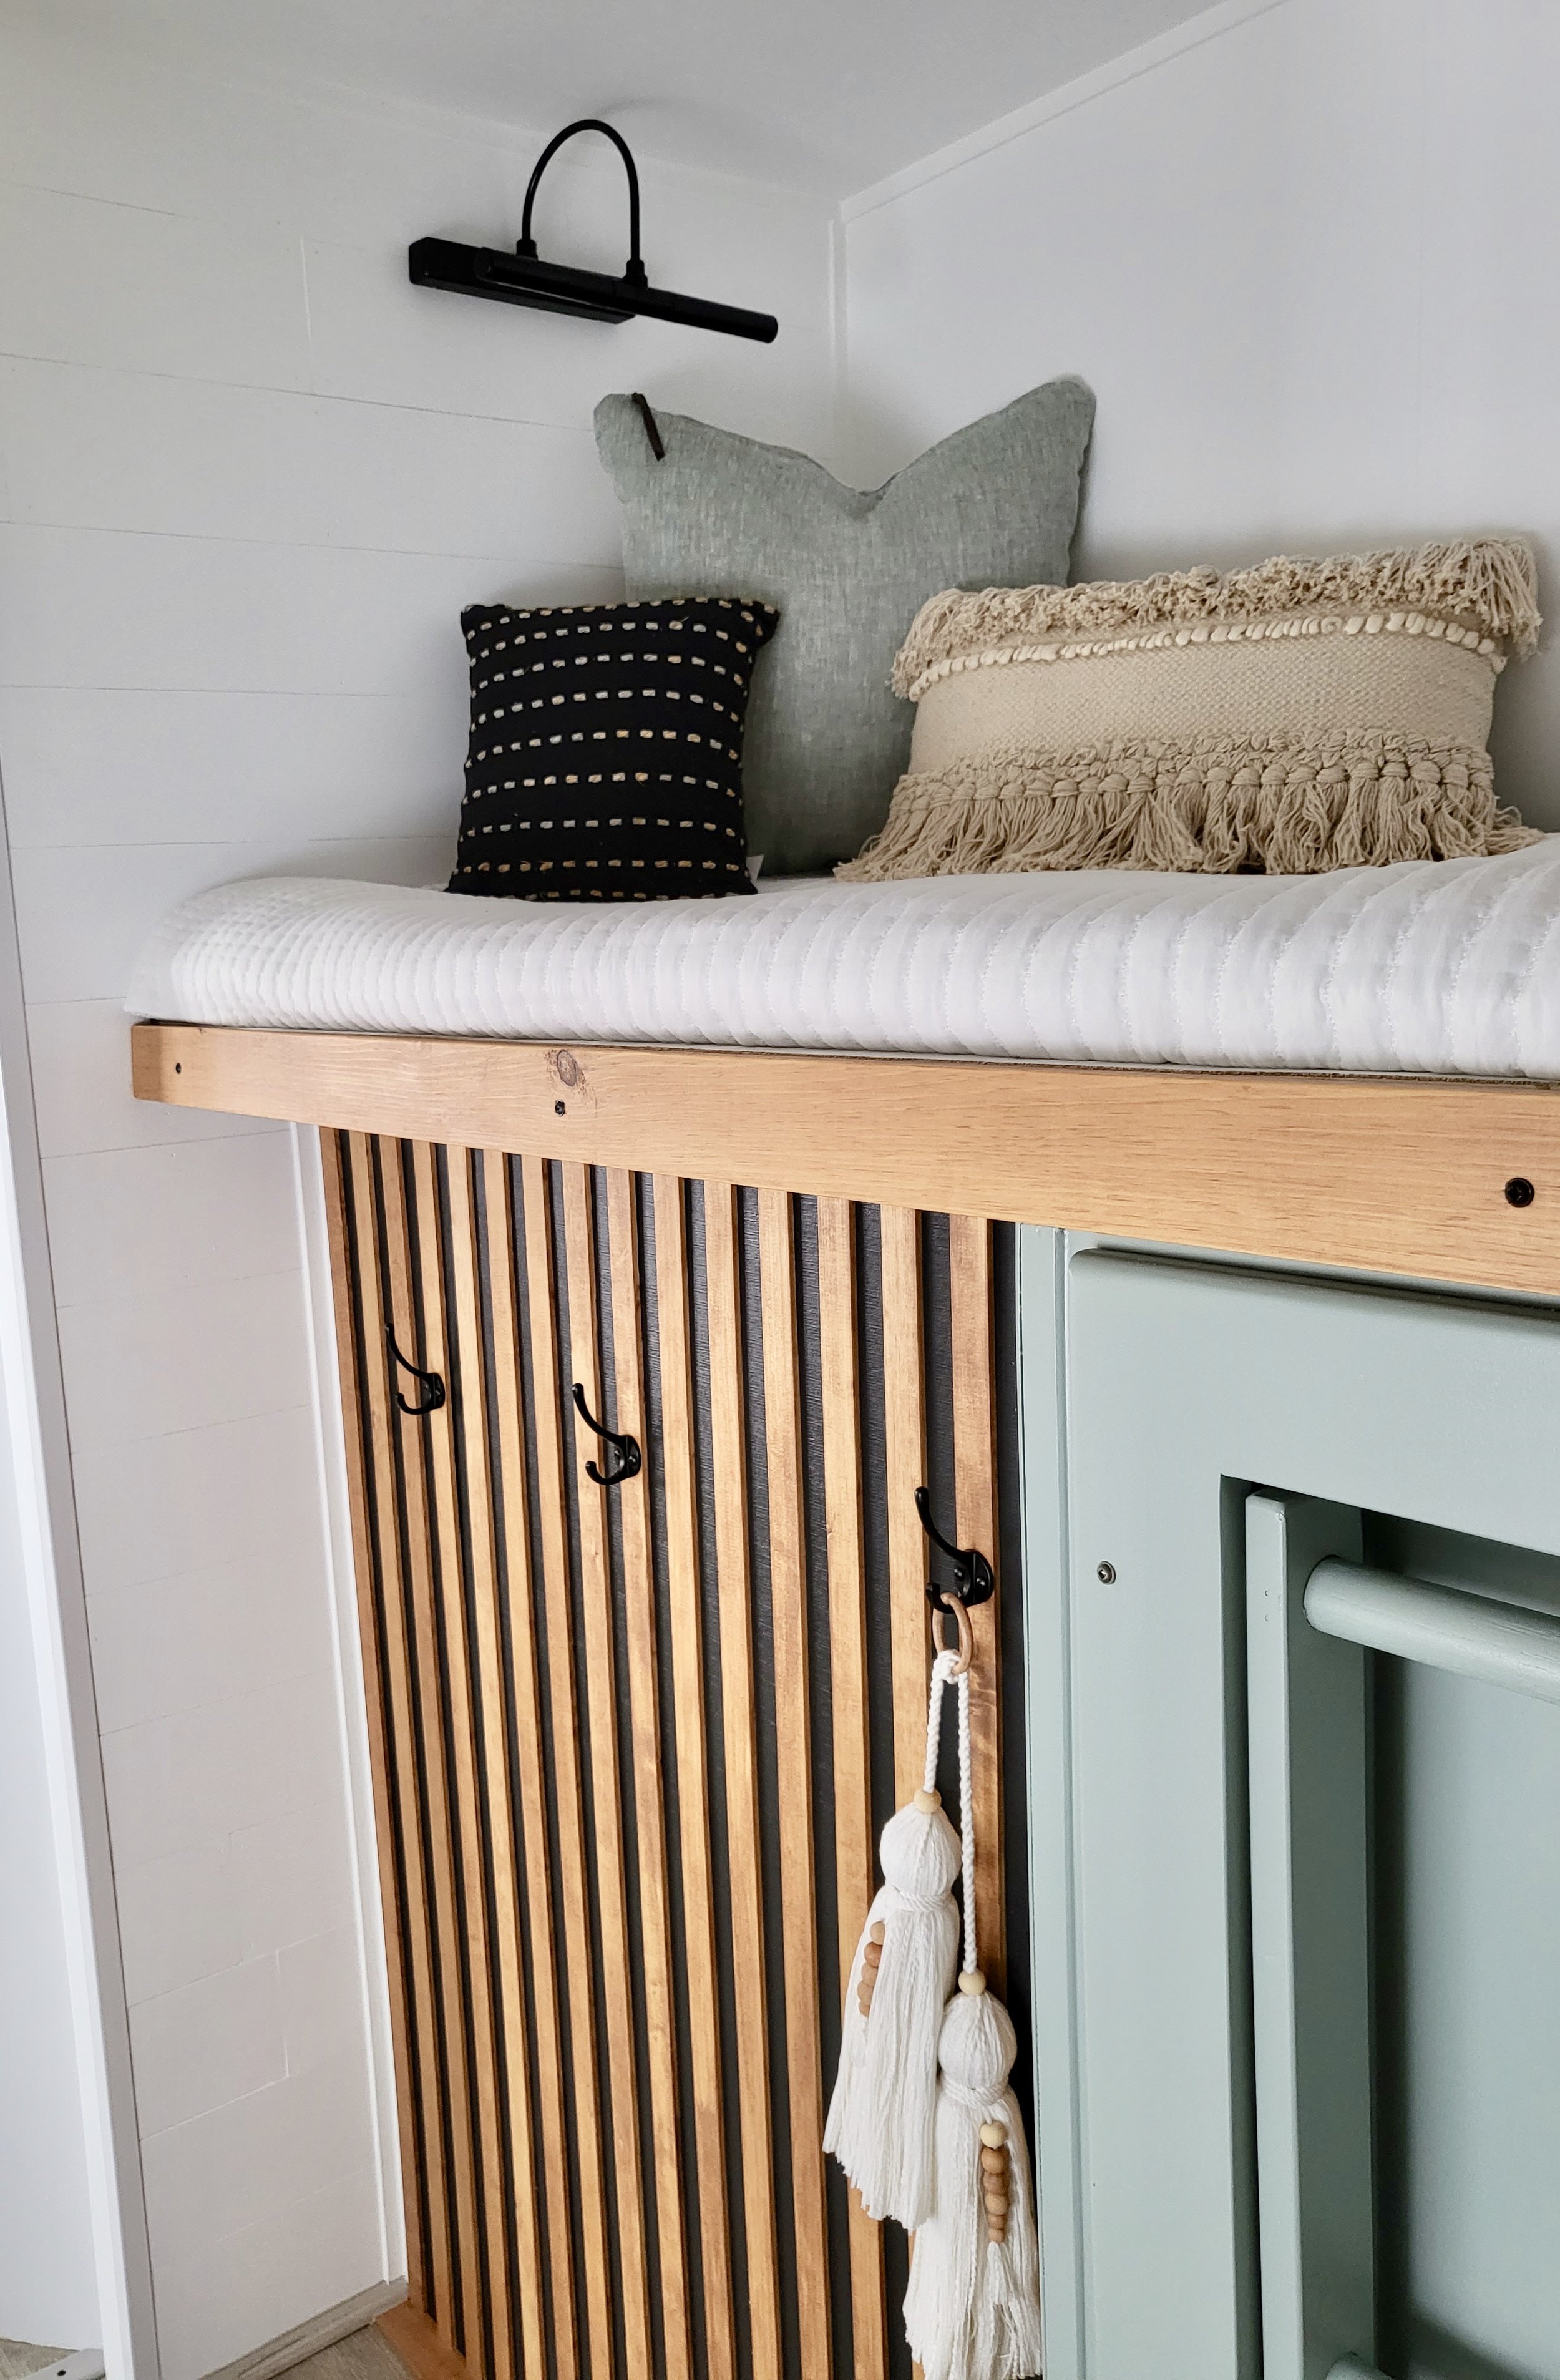
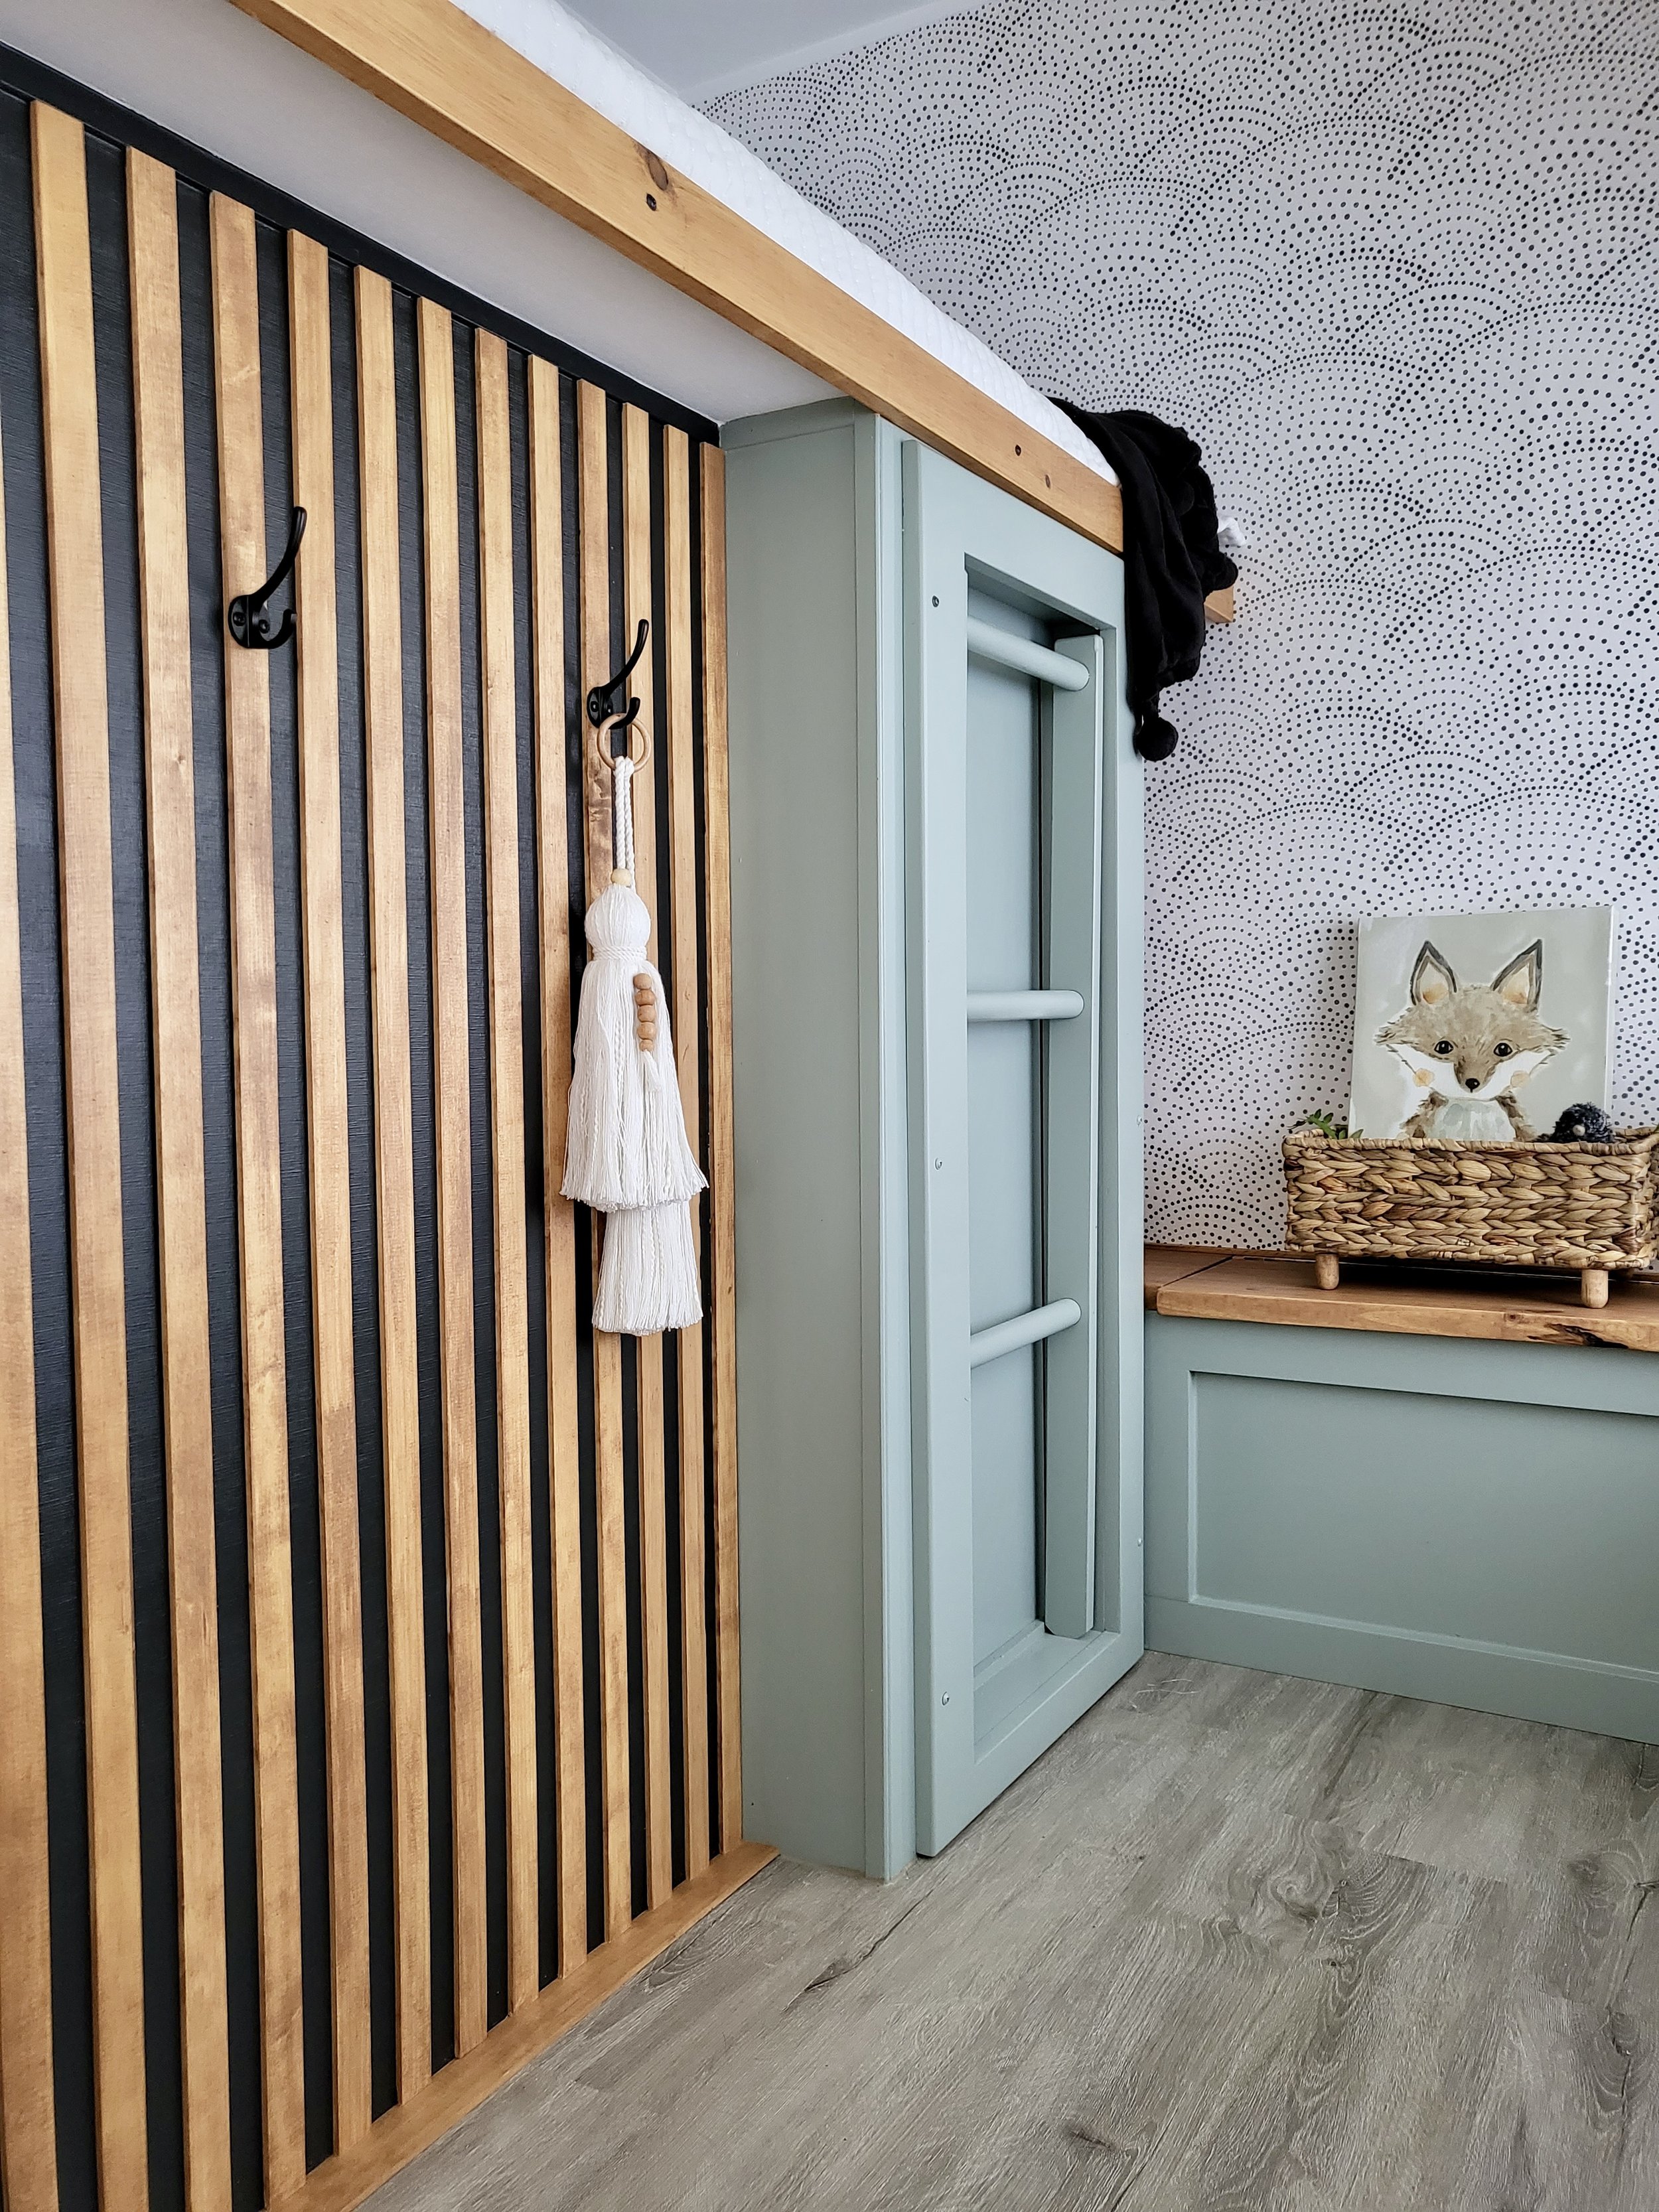
The Hornet, a farmhouse inspired, boho Airbnb retreat.

In this short video, Chris walks you through the basics of switching out your RV’s 12V lighting. You’ll need a few tools, and 12V lightbulbs (which we have linked below).

*Please note: We are not certified electricians. We’re self-taught and learned (just like you), from watching other DIYer’s videos. Our methods have worked for us and they may work for you too!

Forgoing the lighting mount and screwing the base of your light directly into the ceiling also provides extra security. There’s less chance of your screws coming lose during transit and your lights falling off. This has happened to us!! You’ll notice the stock RV lights are all screwed directly into the ceiling.

For this DIY job you will need: a drill, screws, and electrical pliers to cut and strip the protective wire covering before twisting and securing your new lighting wiring. You’ll also want to use the electrical caps that come with your light to safely secure your new wiring.

We often get asked where we get our lights from? Amazon usually….well, almost always actually. All of the lights linked below are low-profile (6 inches in depth or less). A search tip we’ve found helpful when finding low-profile lighting is using this phrase, “flush mount ceiling lights”. You don’t have to use low-profile, there are many opportunities to use all kinds of residential lights! However, most often, headspace is a consideration, and for the purposes of this blogpost we linked low-profile lighting options.

Oh, and here’s a link to some 12V Edison bulbs!


This was just a quick how-to. We’re developing a more in-depth tutorial that includes additional information on how you can update your 120v lighting (the kind found in your home), get creative when there is no electrical or outlet to hook into, and much more! Be sure to sign up for our newsletter below to be notified when this tutorial becomes available!

BIRCH: Scandinavian Farmhouse Guesthouse, Travel Trailer, & Rental

Birch is our ninth renovation to date and probably our favorite (You can see all of our past work in our Portfolio)! We’ve worked with a few different styles now and the Farmhouse Style seems to be where we shine! When our client’s asked for a Scandinavian Farmhouse we were in LOVE with the idea and already had some design elements in mind we couldn’t wait to incorporate.

Our clients wanted to keep an open feel yet create some privacy. We knew a Scandinavian style slat wall would be the perfect solution to create some division of space for the sleeping areas, while not completely closing them off. We used a light weight Pine trim and a natural stain finish to keep them bright and show-off the natural beauty of the Pine.

In the main bedroom we created open shelving, added an extension option to the bed using these barrel nesting stools to support the flip out extension that folds under the mattress when not in use. The barrels also double as a nightstand when the extension is not in use and can be used for seating in the dining area! A shiplap feature wall, cage light and custom bamboo blinds finish off the space!

To customize the blinds we started with these bamboo shades, cutting them to size when necessary. We then added a cotton backing using fabric glue to secure and quilt binding for a clean edge. One of the fabrics we used for most of the shades was this beautiful botanical fabric from Joann Fabrics! It had all the right colors and fit the overall aesthetic perfectly. In the bunks, we used a 100% cotton gray and white hatch print also from Joann Fabrics.

Some times lighting can be tricky when renovating a camper! Especially in the bunk area where the lights are typically located at the foot of the bed. We follow a lot of other RV Renovators and sometimes learn a thing or two from them! We first saw New Look RV Renovation using these battery operated lights for an art wall and totally loved the look as well as the ease of installation! No wiring needed!! They turned out to be the perfect solution for the bunk lights in Birch creating a soft reading light that can be operated by remote with different brightness settings and even has a timer to help kiddos know when it’s time for lights out! To complete this cozy nook we used a custom stain on Birch wood for a shiplap headboard and added in comfy bedding and throws.

We also learned another lighting hack from Driftless RV Renovators that we used in the main bedroom where we had access to an outlet but didn’t want a bunch of cords hanging around. They have a highlight reel on their Instagram page that walks you through the process of adding these puck lights creating a battery operated sconce. We used these sconces in Birch that added just the right amount of “farmhouse” to the bedroom.

In the kitchenette we wanted to save/create as much counter space as possible! We added a couple feet actually! We extended the countertop a few inches to the left and built a stovetop cover for added usable space which we finished in a custom stain. We also got super creative with the sink. Our clients requested a farmhouse style sink and we knew it was going to take up the whole counter if we didn’t think outside the box. We ended up using this bathroom vessel sink and kitchen faucet . They were the perfect solution to keep the farmhouse style sink AND counter space. All the lower cabinets are painted in Behr’s Shark Fin and the rug is actually a jute table runner from Hobby Lobby’s Spring collection!

We absolutely love renovating RV bathrooms! Typically a very small space, there is so much potential to completely transform and open them up. In Birch’s bathroom we put in a new shower pan from an RV distributer and a new surround using vinyl flooring tile. We added a bead board detail with this gorgeous budding branches wallpaper . We always used non-pasted wallpaper. It just goes up so much easier than pre-pasted and lasts longer than peel and stick. We created more counter space in the bathroom as well extending the counter all the way to the way wall while also creating a little nook for toilet paper and a trash can. We really love using this vessel sink in our bathroom renos and so do our clients! We usually switch up the faucet depending on the overall style of the design. For Birch, we used this bathroom faucet . We also like to switch up the mirrors depending on the design aesthetic we are working with. This is the first time we’ve used an oval mirror and we absolutely adore the softness it conveys!

The dinette is also a space the typically undergoes a lot of changes in our renovations and it was no different for Birch. We took the standard booth style dinette and made an L-shaped bench, reupholstering with a supple, wipeable vinyl from Joann Fabrics. We couldn’t find a table we like that was the right dimensions so we ended up making our own using spindle we found at our local ReStore and a lightweight Pine board finishing in a dark polyshade by Minwax. When we can, we like to update dinette lighting. It can get tricky depending on the headspace and location of the electrical connection. In Birch, we were thankfully able to center this dinette light tying in a farmhouse feel with the lines of the Scandinavian style slats that bookend the space.

We worked with our clients from the very beginning finding an RV and designing a multi-functional space they could use for their family and investment property. Living in a restored cottage with a small footprint, they opted to Work With Us versus putting on an addition for guests. When not traveling, Birch will reside in their spacious backyard as a short-term rental and guest house for friends and family to comfortably visit.

You can find additional photos of Birch here.

To learn more about our Work With Us process, please visit here or email us to schedule a free consultation call!

Source: www.waylandventures.com